Thursday, January 19, 2012

Birthday Cards

First of all, THANK YOU to the Fabulously Artsy Tresa Black (visit her amazing blog HERE) for teaching me how to add text to my photos! Now I can take credit for my scrappy stuff... or not if it doesn't turn out :)

That being said, I cannot take credit for this card:


I searched and searched to find out who I copied this idea from 2 years ago, and I failed! So if this is your card with my paper choice, please let me know so I can give you credit!!! It's so simple with the bow, but I love how it looks like presents.

This next card really is mine:


I had a few friends and Aunts (ok, only one friend and one Aunt) with birthdays who needed a special card.


The flowers are made with one of my many flower punches I am addicted to and a coiled ribbon center. I find that glue dots work best for this technique, but you can finish the end off with a glue gun to make sure it survives the mail!


And yes, I am particularly proud of my ribbon bows on both of these! So nice when things turn out!

Saturday, January 7, 2012

Santa in January

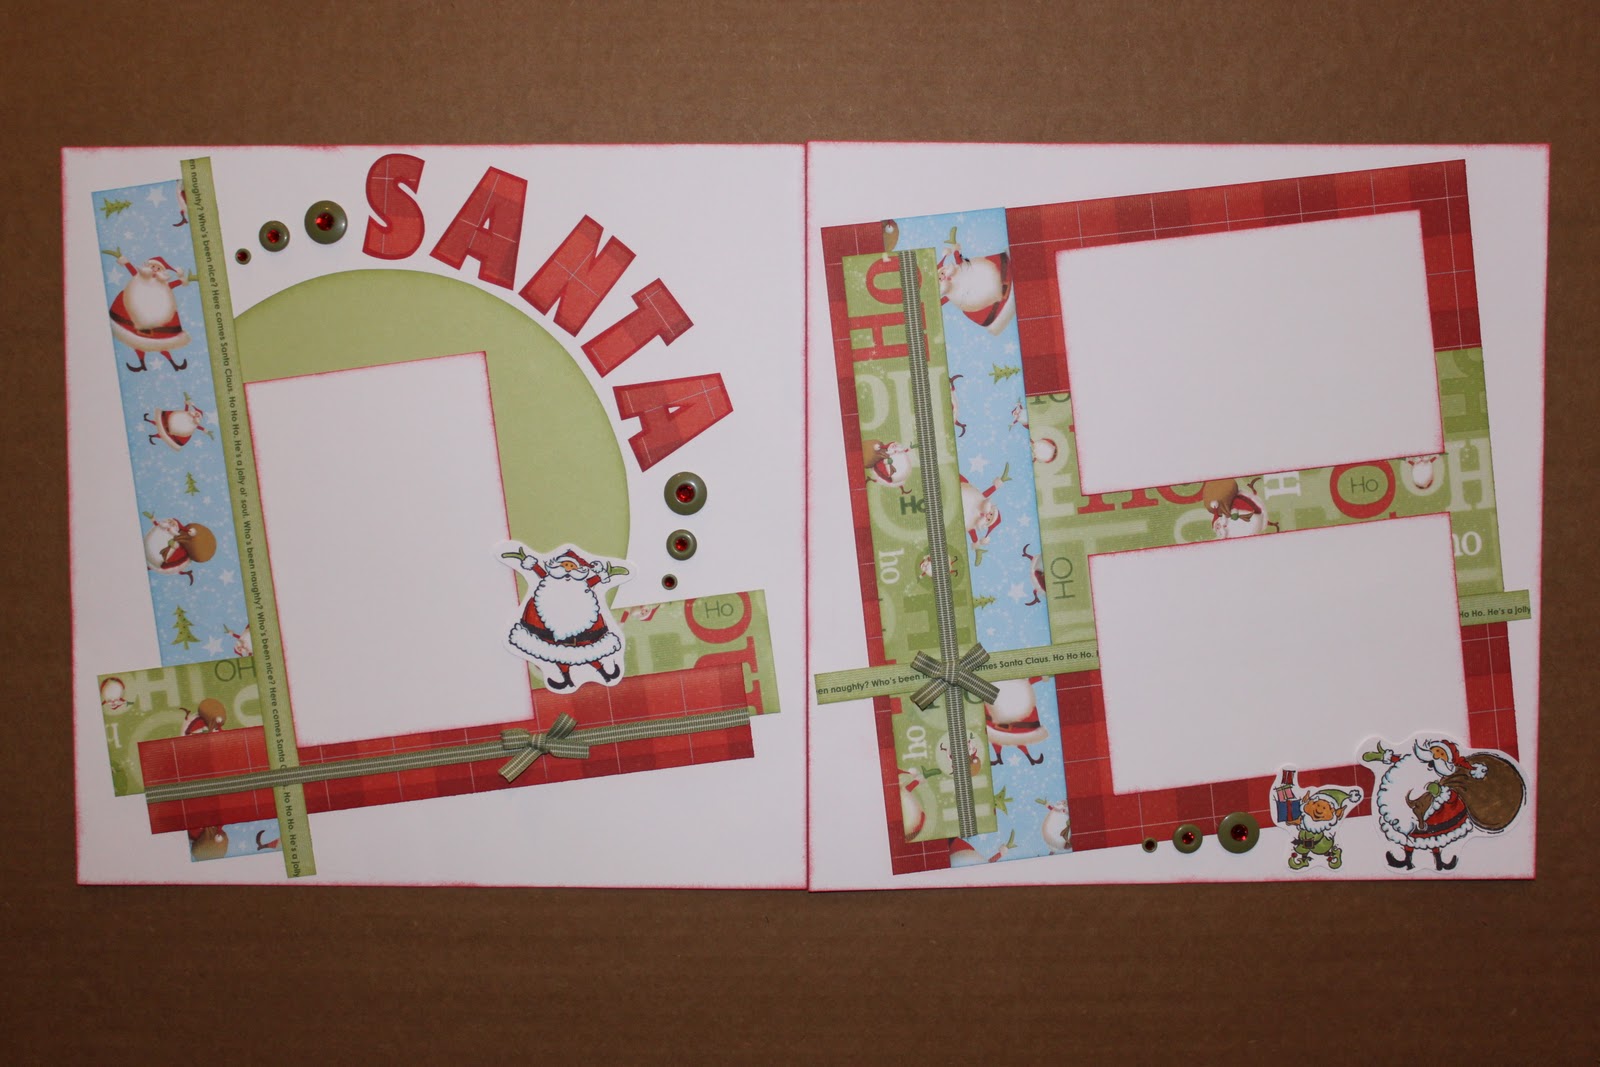
Ummmm.... oops! Here are the scrapbooking group's layouts for December:


We used the Believe paper packet. I usually avoid stamps that require coloring, because I feel I am not very good at it, but I couldn't resist the happy Santa! 


Eventually this will have photos of my kids with Santa on them... maybe even before next year's Santa pictures :)

Happy 2012!

Tuesday, December 20, 2011

Merry Christmas! -finally!

Nothing quite as exhilarating as waiting until the last minute! I finally finished my Christmas cards! All 24 this year! And here I thought I was cutting back...


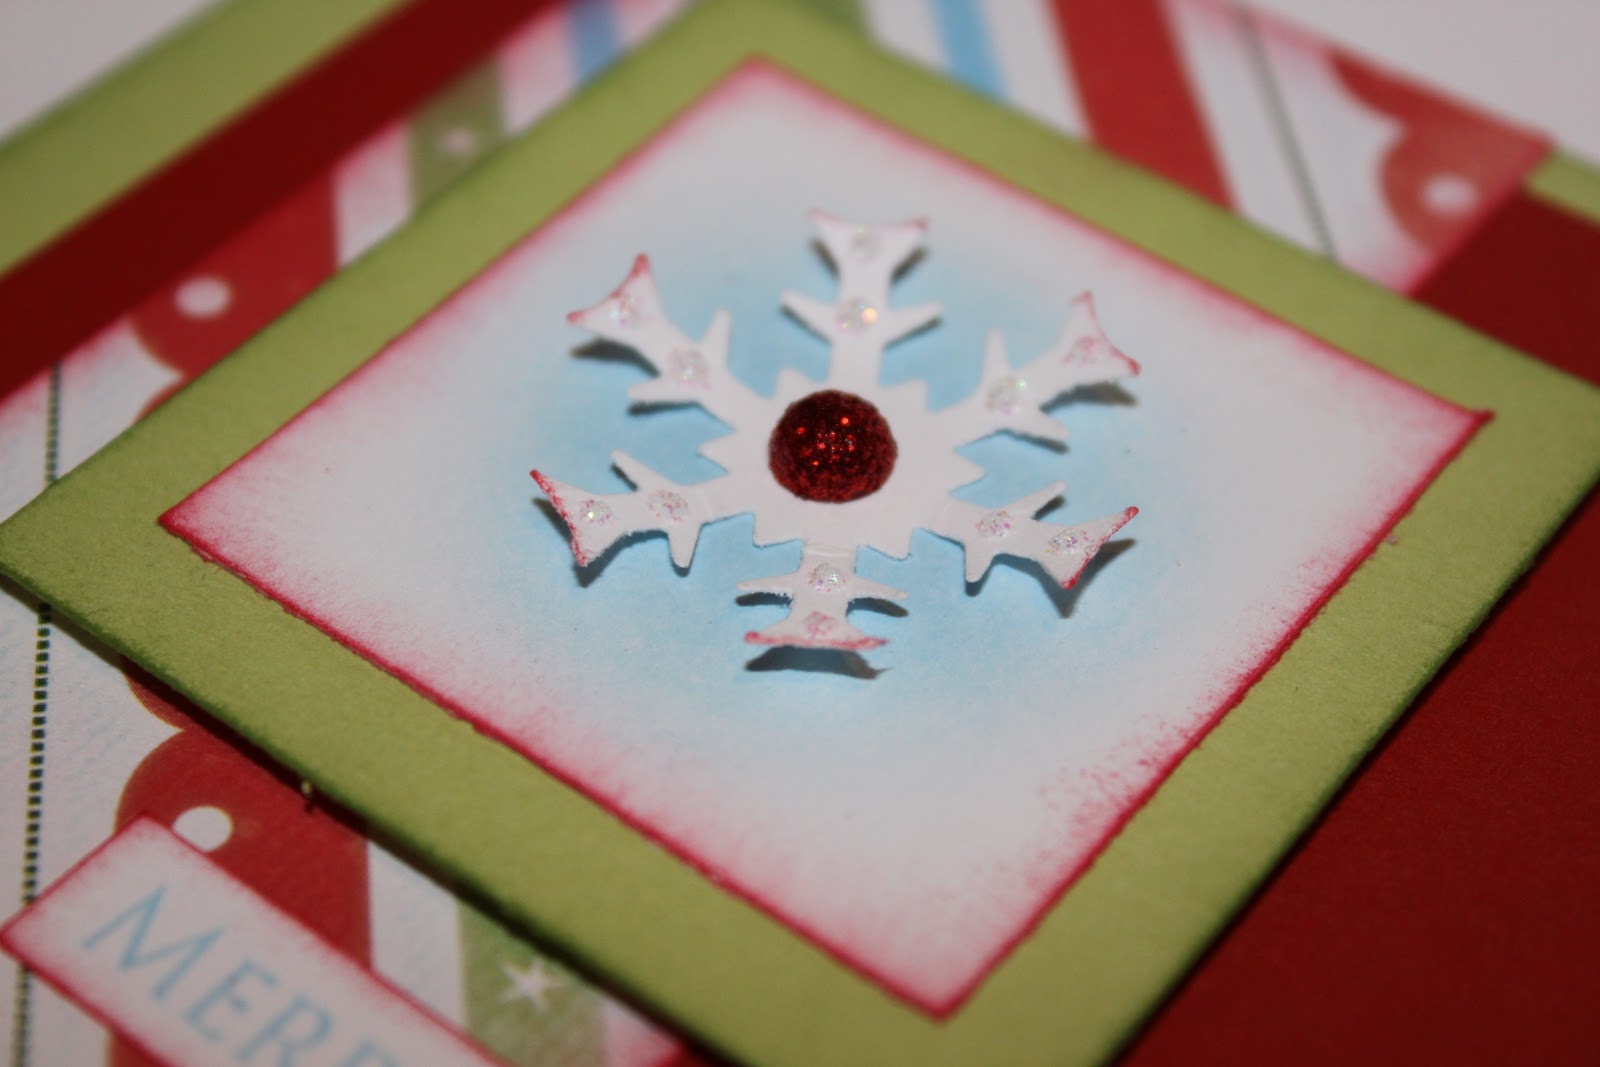
This card gave me so much trouble! I was just trying to turn my Halloween card (see it HERE) into a Christmas card instead. I must have tried 7 different snowflake stamps for the center, 2 different embossing powders, and countless sparkles! All that and I ended up using my snowflake punch. 


 If you look closely, I sponged the background in blue to make my snowflake stand out. I also used Close To My Heart's clear Glitz Gel to make little sparkles on all the snowflakes. Every Christmas card needs a bit of bling!


Thanks for stopping by and MERRY CHRISTMAS from Tina's scrap crap!

Thursday, December 8, 2011

Christmas box

I have mentioned before what creative people I get to hang out with being a Close To My Heart consultant; so I was TERRIFIED that I had to make a "Christmas something" for a swap with all those creative people! The only rule was to stay under $10 and use all CTMH products. This is what I came up with:


From the outside it just looks like a present, but open it up and...


It's an exploding box! I love making these for Christmas! Someday I will post pictures of my other ones with different themes. I left this one pretty generic so whoever ended up with it could personalize it themselves. 


There are 8 little pockets with journaling tags inside and room for at least 9-21 photos! 


I am happy to report that the woman who ended up with my exploding Christmas box was happy, and the rest of the group was so impressed that I am teaching them all how to make it in January!!! Talk about an honor!

Just goes to show that maybe we shouldn't be so hard on ourselves all the time!

Monday, December 5, 2011

The countdown begins! ...5 days ago

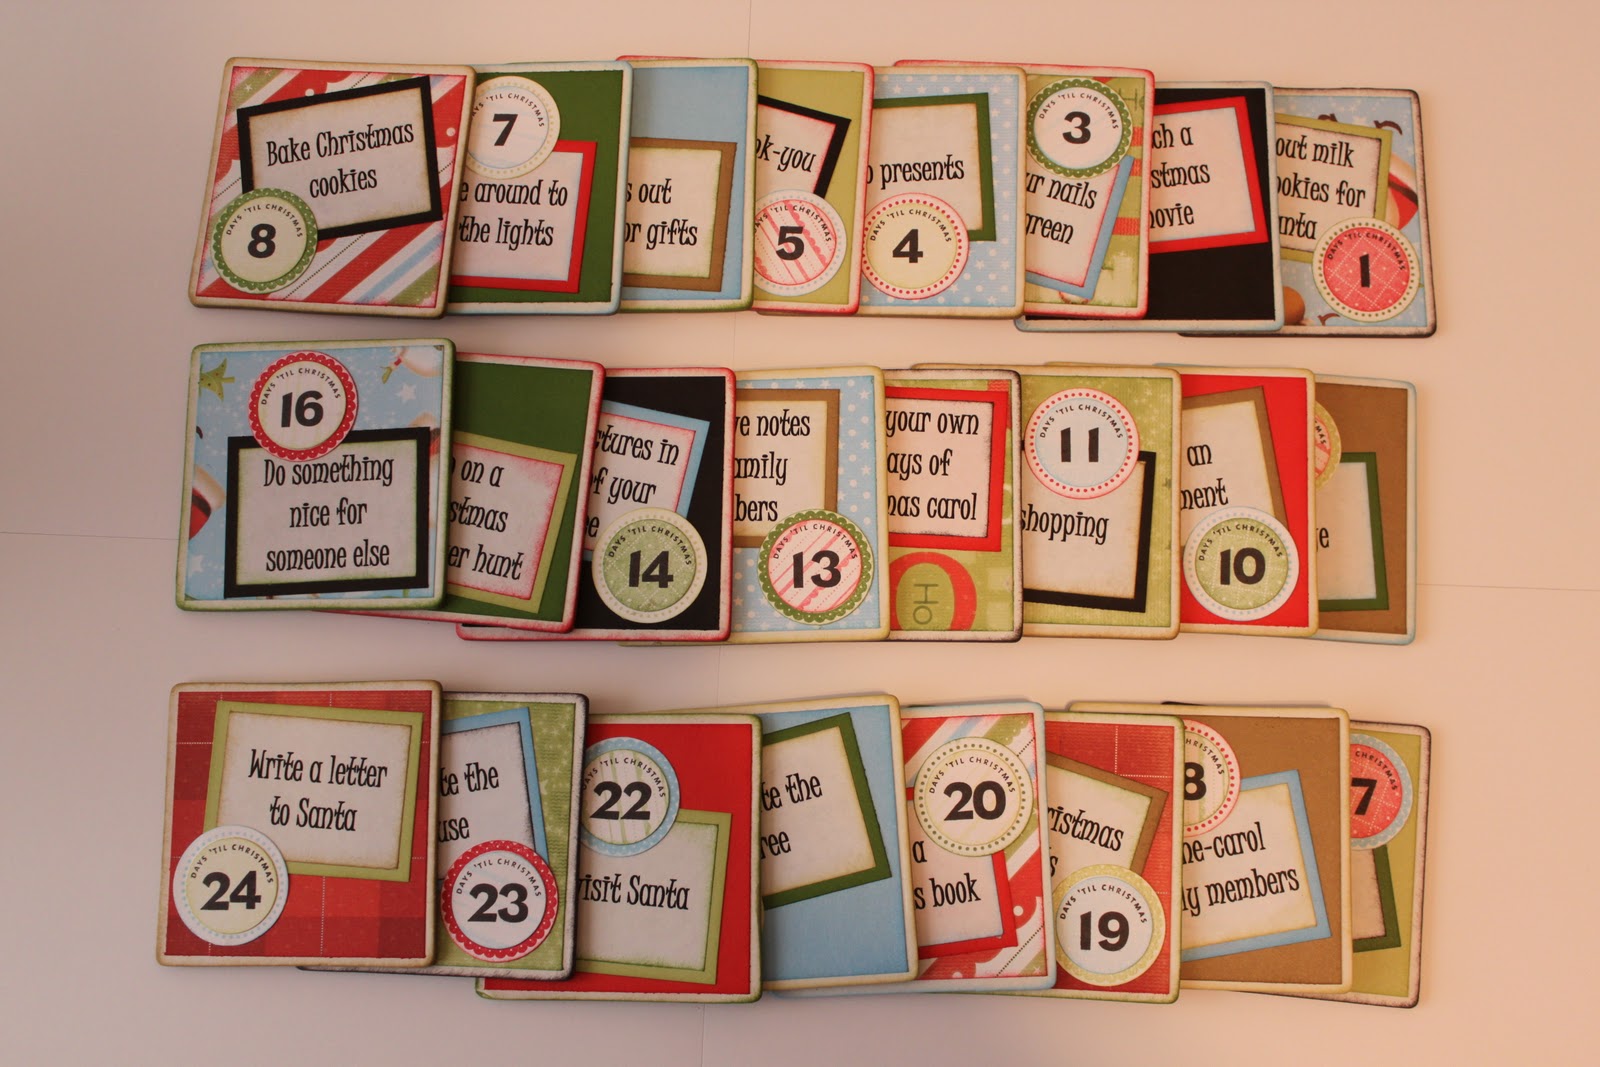
Ok, so I didn't finish on time. At least I was close this year... Here is the cute Christmas Countdown box I started early November:


I used Close To My Heart's memory game cube. It has a strong magnetic closure and is pretty kid-proof. It comes with a countdown-convenient 24 cards inside.


So I came up with 24 things to do each day and decorated! A good old fashioned glue stick seems to work best with the chipboard. Plus it's cheap! 


A little warning: when you first get this box all the squares fit inside with lots of room to spare; after you add a few layers of paper it becomes a pretty tight fit. If you are using all 24 squares, I would NOT recommend any 3D embellishments at all. They will not fit!

Maybe I should start my Christmas cards now...

Wednesday, November 30, 2011

November layouts

Wow, it's been awhile! Here are the layouts we made at my scrapbook group in November: (sorry, I don't have time to edit them so they are a little rough)


This first one uses the Sonoma paper packet. Honestly, when I first saw this packet I was not impressed. It was a little... dull for my normal scrapbook subjects (crazy kids). But I really love how this layout turned out. It has a very regal feel to it that I think will be perfect for photos of my kids with their great-grandparents. Even if they are jumping on the couch at the time!


Just a close up of my strategic accordion pleats! I wanted them evenly spaced with the brads, so this took a bit of scrap paper practice!


This last one is the gorgeous Dreamin' paper. The big blank white spot is where a big colorful 8x10 will go. I have fall leaf pictures of me and my husband a few years back (ok, 9 years back) that match great.  


Lots of leaf cutting, but I love the look! After I get the pictures on I am going to trace the flourishes with Bronze glitz gel to add a bit of sparkle! 

I know what you are thinking, why didn't she just cut out the leaves with the Cricut? All the leaf stamps have a matching cut? Well yes, I could have done that and it is much faster; but I wanted a closer cut than what the Cricut does. Also my Cricut is buried right now... maybe next time!

Thanks for looking, back to the sick baby!

Wednesday, November 16, 2011

Finally Fall!

It is about time things finally cooled off! I would soooo much rather be cold than hot. Think about it: when you are cold, you can put on a sweater; when you are hot, there is only so much naked you can get :)

Here is a card to celebrate breaking out the sweaters:


Pretty much everything I used is discontinued Close To My Heart... but the colors of this paper packet will always be one of my favorites! 

Happy Fall!