Time for another Basic Sketch with Kiwi Lane!
Go visit them on Facebook! They have challenges every week and you can win a $25 gift card to get even more Kiwi Lane goodness!
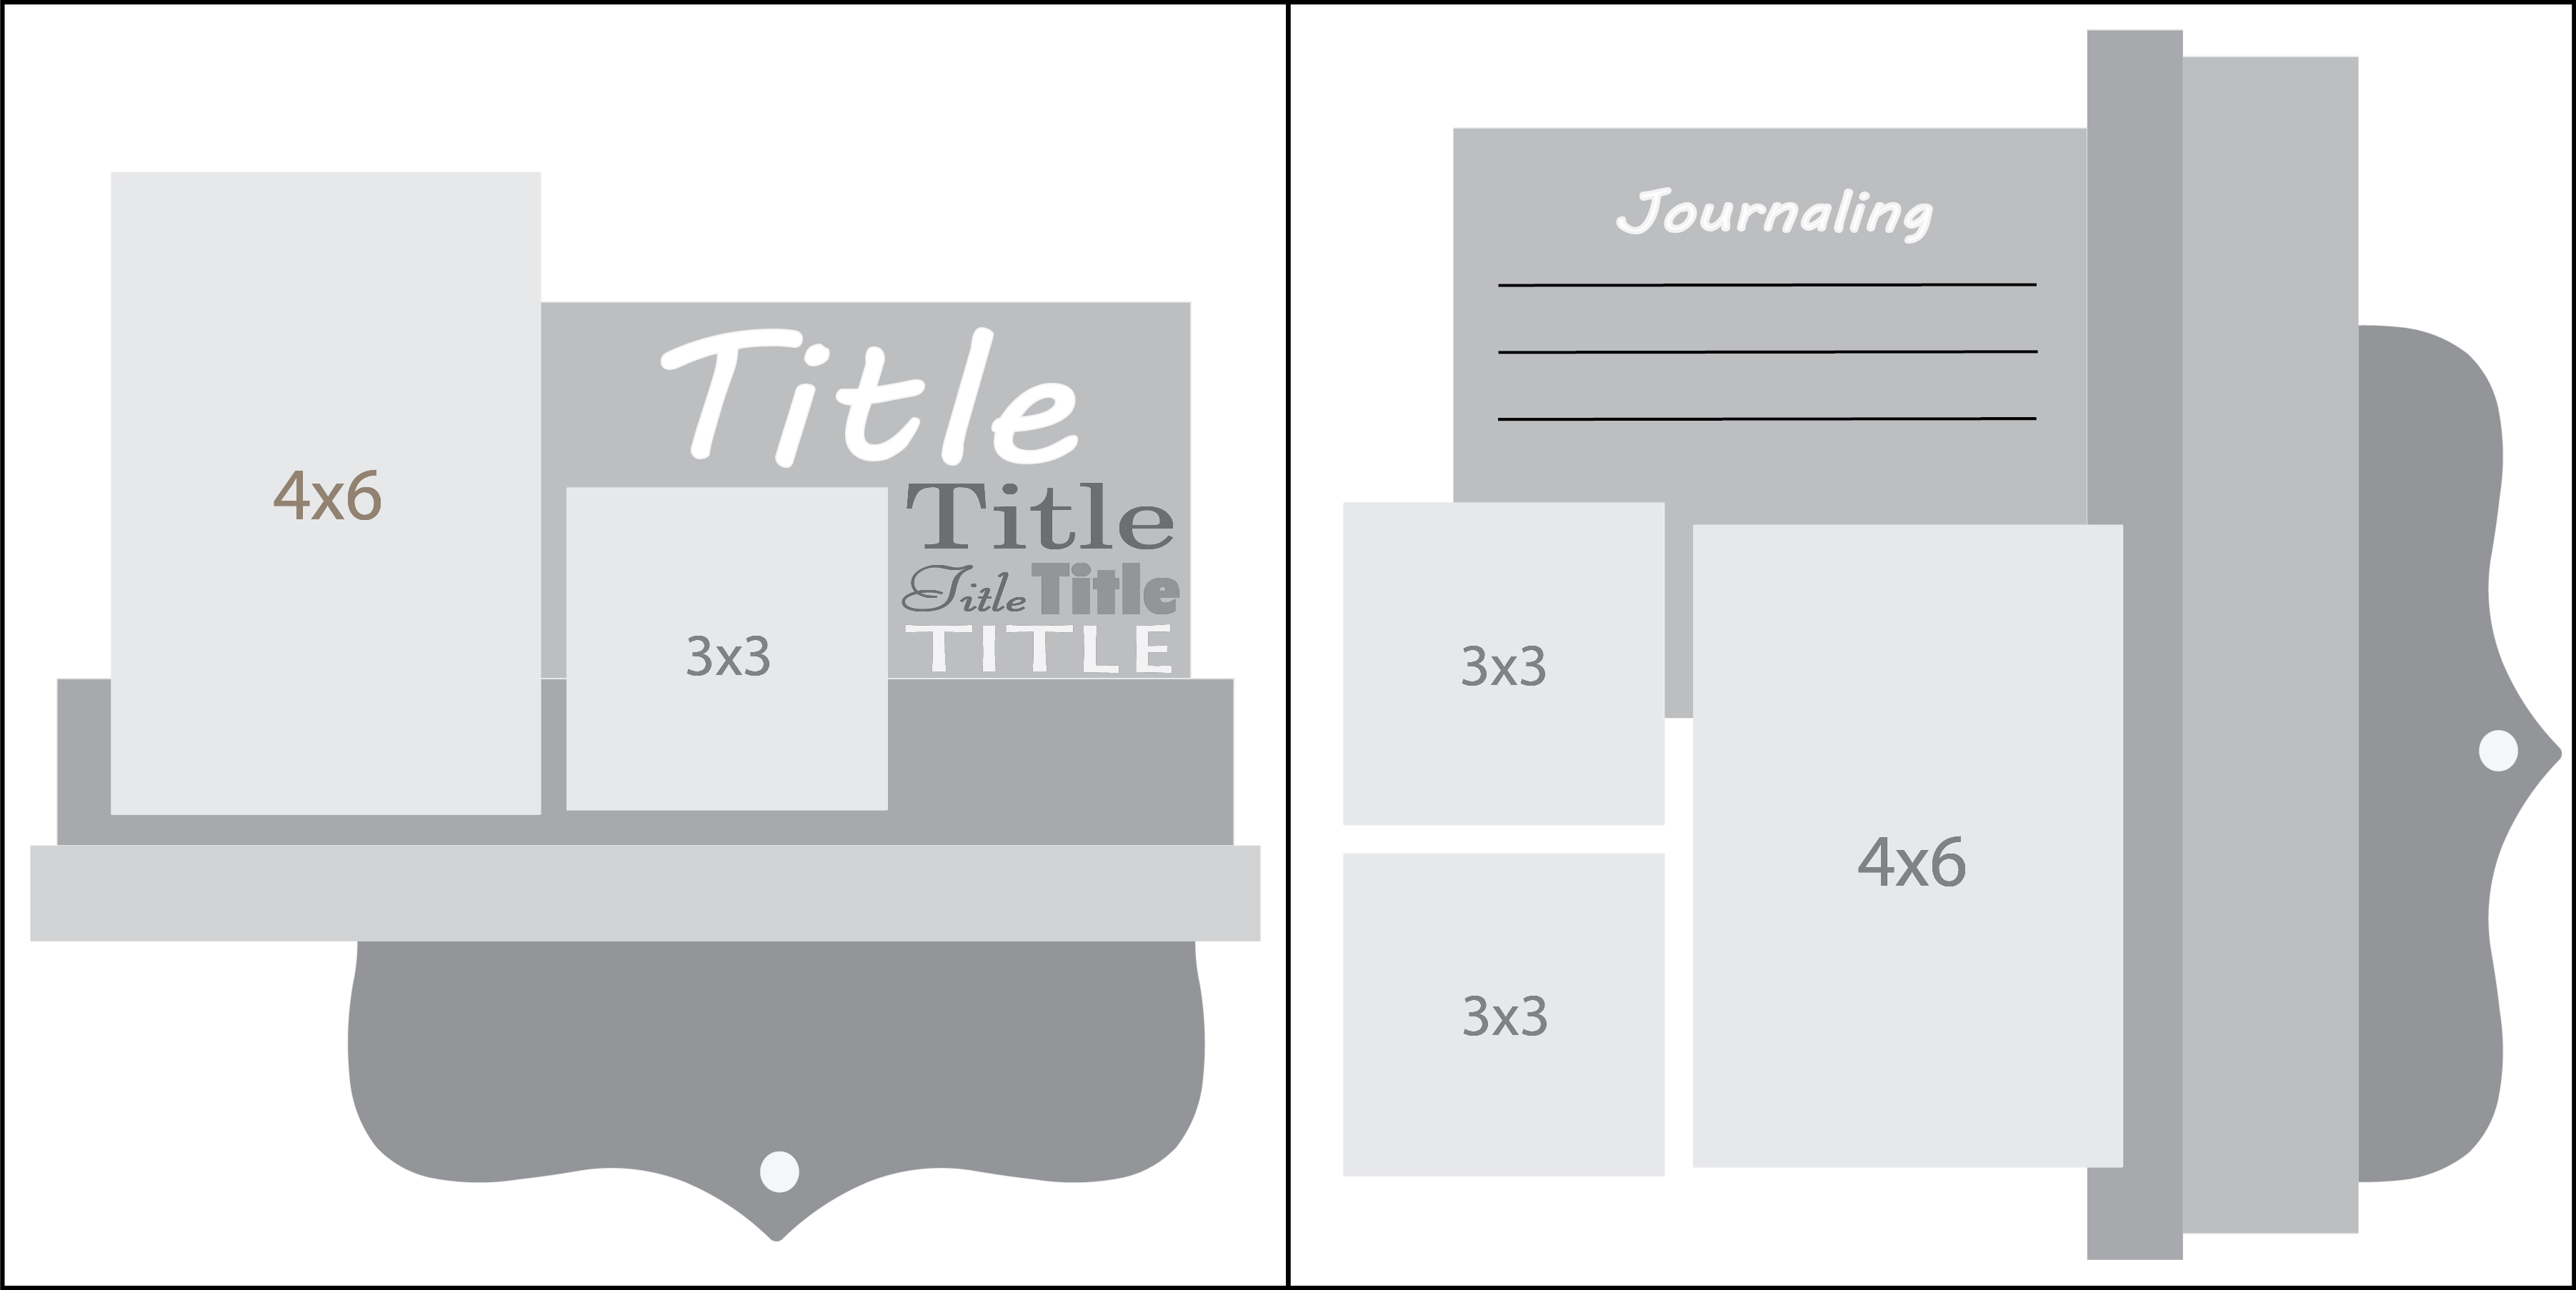
Here is the Basic Sketch for this week:
And here is my Halloween version:
I decided to combine my current obsessions... Kiwi Lane, meet Out On A Limb Cutouts!
I LOVE the pumpkins and seeds!!!
And of course I always love my bracket templates:
Kiwi Lane has an awesome 12 inch chevron set, but I needed littler "spikes"... so I used their chevron card template and just traced it twice onto my paper strip:
Ta-da! Little "spikes" to go with my pumpkins!
Expect to see more of my new favorite Kiwi Lane + Out On A Limb = Awesome Cute Quick Layout formula!
Friday, May 30, 2014
Sunday, May 25, 2014
DT Doodles #10
Holy cow double digit DT Doodles already?!
Where is this year going?!?!
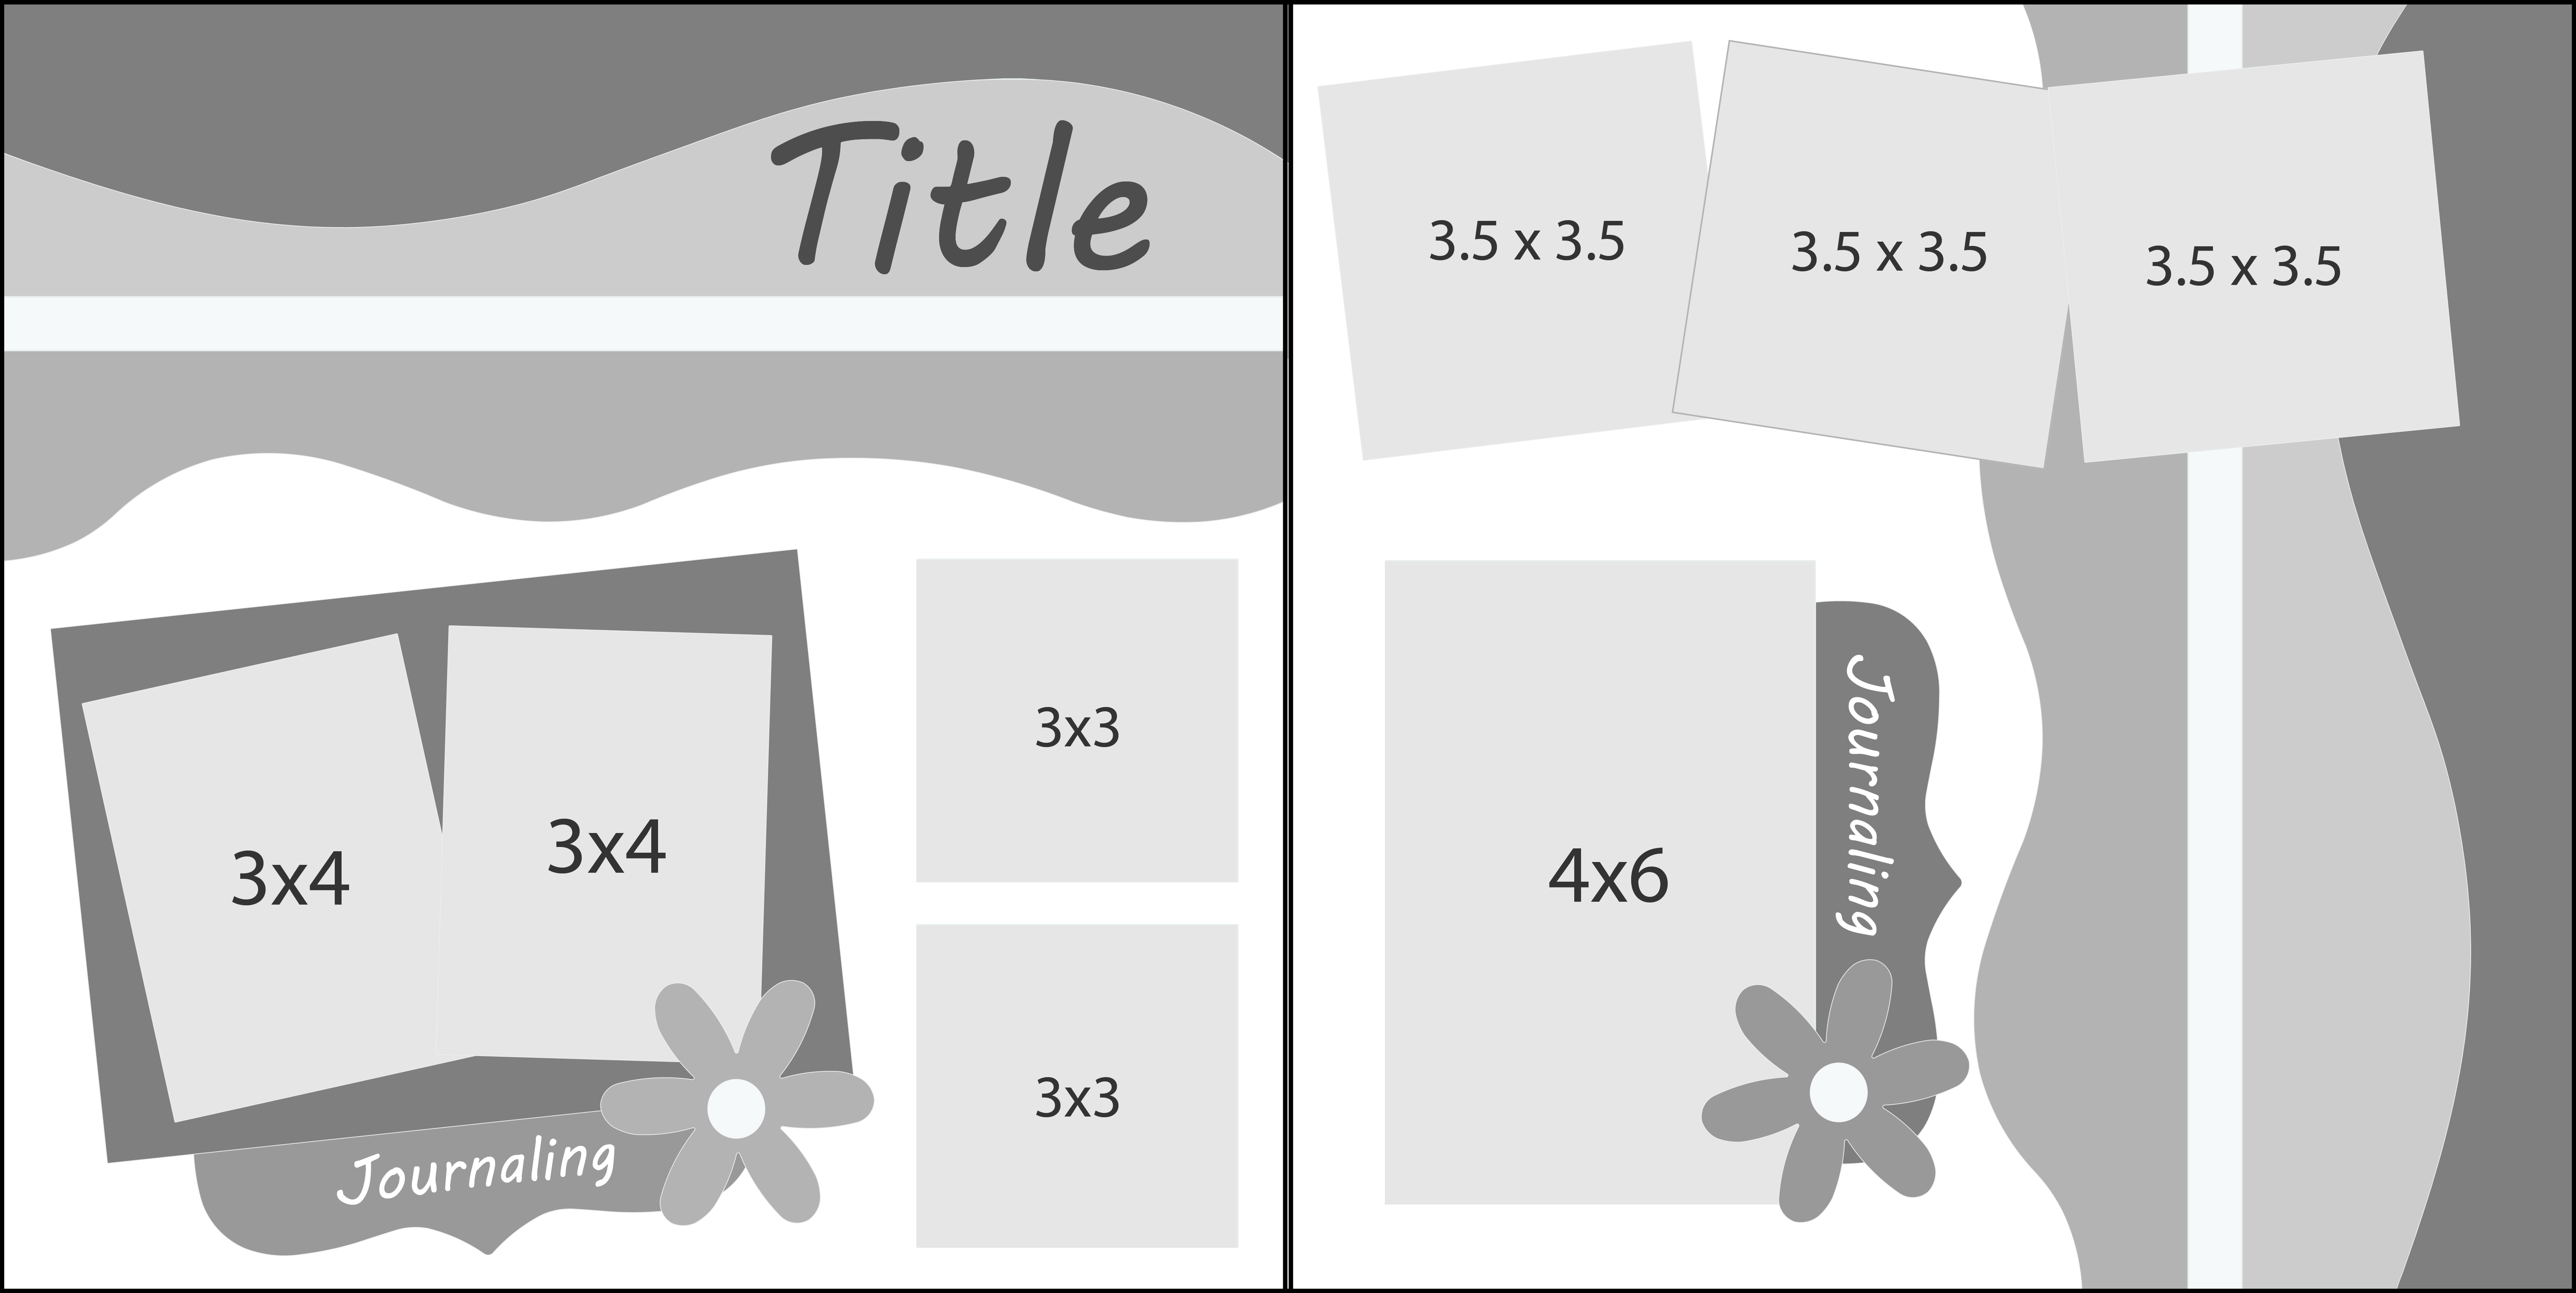
Anyway, here is Kiwi Lane's DT Doodle for the week:
And here is my attempt:
It worked out ok! ....but it's still super nerve wracking to attack an almost-completely-done layout with black ink...
The paper is perfect! It's little music notes:
It's also hard to see, so you may just have to trust me again!
Go visit Kiwi Lane on Facebook!
Where is this year going?!?!
Anyway, here is Kiwi Lane's DT Doodle for the week:
And here is my attempt:
The pictures are my little girl and her two cousins playing the piano together. They are all within 4 months of each other, so it's extra cute!
I'm trying to get braver about stamping DIRECTLY onto a layout:
The paper is perfect! It's little music notes:
It's also hard to see, so you may just have to trust me again!
Go visit Kiwi Lane on Facebook!
Sunday, May 18, 2014
Basic Sketch
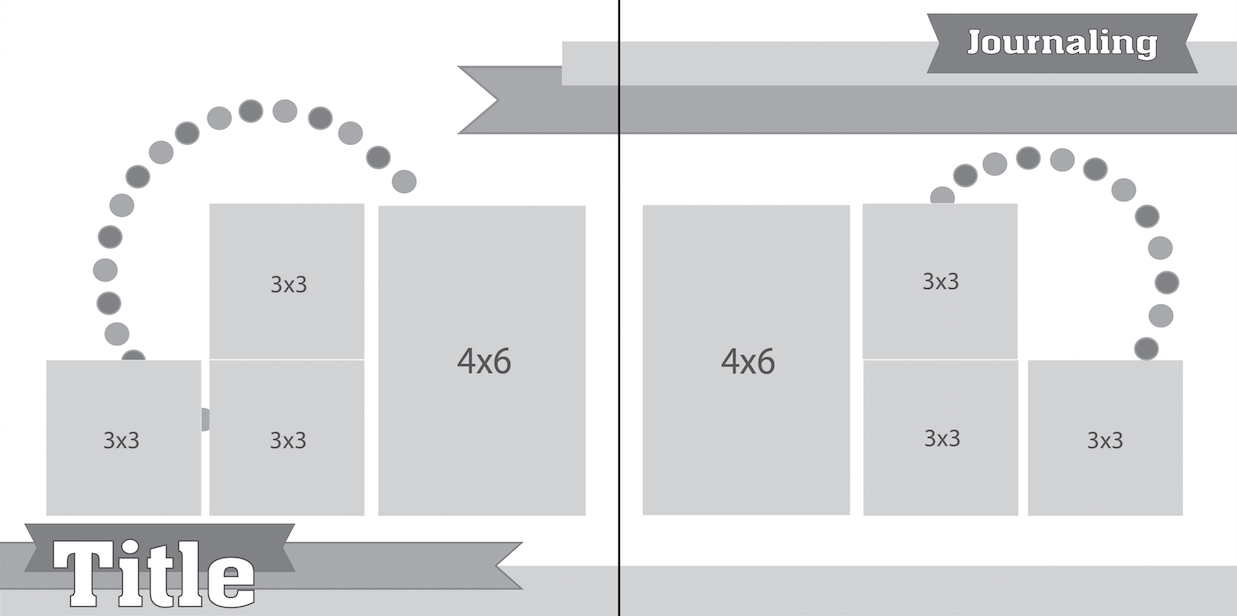
Here is Kiwi Lane's Basic Sketch for this week:
And here is my version:
I had to change things up a bit to fit my photos and the look I wanted... but that is the great thing about sketches! They are inspiration SPRINGBOARDS, not blueprints!
I just had to use my new Close To My Heart alphabet stamps and woodgrain washi tape:
To make my awesome dirt "waves" I used my awesome Kiwi Lane templates:
I traced the template and then tore my paper as close to my pencil lines as I could. Of course it needed roughed up a bit with ink, which stains my fingers for days, but I really like the result!
Visit Kiwi Lane on Facebook to see more entries and participate yourself!
Friday, May 16, 2014
Split Pea Wreath
Ok, I realize EVERYONE has already made one of these...
But it's new to me!
I made a Split Pea Wreath:
I really like it! Especially on my black door!
For the few people in the world that have NOT made one of these and posted it EVERYWHERE, here is a little tutorial!
*******READ THE ENTIRE THING BEFORE YOU START*******
I changed my mind 1/2 way through to what I consider a much better way!
You will need:
* a wreath form. I used the largest straw wreath form known to Man found at Hobby Lobby.
* a pan. Please do not use your favorite pan!
* glue. Mod Podge is pictured because that is what EVERY other tutorial suggested, but I switched to a glue gun later...
* bags of green Split Peas. I ended up using 4 1/2 bags.
1. Dump a pretty deep layer of peas into your pan:
2. With your wreath in and/or over the pan of peas, GENEROUSLY spread on your glue. This picture is my Mod Podge attempt:
3. Scoop up a handful of peas and press them into the glue:
4. Repeat repeat repeat until you have a scant layer of peas all over your wreath.
*****Please expect a GIGANTIC mess!!! We're talking worse than glitter because it hurts when you step barefoot on peas!*****
5. Carefully walk away and let things dry really good.
6. Here is where all the other tutorials tell you to keep doing layers of Mod Podge and Peas until fully covered.
Well after 2 days and 3 "layers" this is all I had:
I do NOT have time for that crap!!!
So out came the glue gun!
7. Squeeze out a thick layer of glue gun glue onto a little patch of wreath, still trying to keep things contained over that pan:
8. Press a handful of peas into your hot glue. As long as you get a big enough handful, you will not even get burned! Hold it there for a second:
9. Dump off the excess into the pan and repeat...
Yes, you can only do a 2x2 inch section at a time with the glue gun, but the results after one "layer" look like this:
Ta-Da:
But it's new to me!
I made a Split Pea Wreath:
I really like it! Especially on my black door!
For the few people in the world that have NOT made one of these and posted it EVERYWHERE, here is a little tutorial!
*******READ THE ENTIRE THING BEFORE YOU START*******
I changed my mind 1/2 way through to what I consider a much better way!
You will need:
* a wreath form. I used the largest straw wreath form known to Man found at Hobby Lobby.
* a pan. Please do not use your favorite pan!
* glue. Mod Podge is pictured because that is what EVERY other tutorial suggested, but I switched to a glue gun later...
* bags of green Split Peas. I ended up using 4 1/2 bags.
1. Dump a pretty deep layer of peas into your pan:
2. With your wreath in and/or over the pan of peas, GENEROUSLY spread on your glue. This picture is my Mod Podge attempt:
3. Scoop up a handful of peas and press them into the glue:
4. Repeat repeat repeat until you have a scant layer of peas all over your wreath.
*****Please expect a GIGANTIC mess!!! We're talking worse than glitter because it hurts when you step barefoot on peas!*****
5. Carefully walk away and let things dry really good.
6. Here is where all the other tutorials tell you to keep doing layers of Mod Podge and Peas until fully covered.
Well after 2 days and 3 "layers" this is all I had:
I do NOT have time for that crap!!!
So out came the glue gun!
7. Squeeze out a thick layer of glue gun glue onto a little patch of wreath, still trying to keep things contained over that pan:
8. Press a handful of peas into your hot glue. As long as you get a big enough handful, you will not even get burned! Hold it there for a second:
9. Dump off the excess into the pan and repeat...
Yes, you can only do a 2x2 inch section at a time with the glue gun, but the results after one "layer" look like this:
Sooooo.... DONE!!!
I'd rather do a little at a time and have it work than spend all week doing big and useless patches!
10. Spray a few generous layers of finishing spray to keep the sun fading minimal.
11. Glue some felt circles or something on the back because HOLY COW these peas will scrape up your door!
Ta-Da:
Good luck!
Seriously though,
GLUE GUN!!!
Saturday, May 10, 2014
DT Doodles #9
It's DT Doodles time again!
I love being "forced" to scrapbook!
Here is Kiwi Lane's DT Doodles #9:
And here is my version:
I used some of my favorite old My Mind's Eye paper from the Quite Contrary collection.
Honestly, the flower and scallop templates were what sucked me into Kiwi Lane in the first place. I LOVE them! They were my first purchase and I have easily used them 2 to 1 compared to any other templates!
I also love my liquid pearls!! They look like those expensive enamel dots that are EVERYWHERE now, but for the price of one pack of dots I can buy a whole bottle of pearls! I have a *few* colors in my collection...
Visit Kiwi Lane's Facebook page HERE to see other entries!
I love being "forced" to scrapbook!
Here is Kiwi Lane's DT Doodles #9:
I used some of my favorite old My Mind's Eye paper from the Quite Contrary collection.
Honestly, the flower and scallop templates were what sucked me into Kiwi Lane in the first place. I LOVE them! They were my first purchase and I have easily used them 2 to 1 compared to any other templates!
I also love my liquid pearls!! They look like those expensive enamel dots that are EVERYWHERE now, but for the price of one pack of dots I can buy a whole bottle of pearls! I have a *few* colors in my collection...
Visit Kiwi Lane's Facebook page HERE to see other entries!
Sunday, May 4, 2014
Basic Sketch
Each week Kiwi Lane either does a DT Doodle sketch that you make with their awesome templates or a Basic Sketch that anyone can enter.
This week is Basic Sketch week...
Although I did use the heart template...
Sue me!
Here is the sketch:
The pictures are my now three-year-old giving the I love you sign. It's cute, I promise!
I dusted off my heat embosser for this one:
This week is Basic Sketch week...
Although I did use the heart template...
Sue me!
Here is the sketch:
And here is my (of course) 2 page version:
The pictures are my now three-year-old giving the I love you sign. It's cute, I promise!
I dusted off my heat embosser for this one:
I used an embossing pen to draw around my entire layout and the hearts and my new favorite Close To My Heart stamp set for the title.
Happy Day-After My Baby's Birthday!
Thursday, May 1, 2014
May Layout
Here is the layout my Close To My Heart scrapbooking group will be making in May:
We are using the Ariana Paper Packet, the matching Ariana Dimensional Elements, the wide Smoothie Washi Tape, and the Outdoor Denim Bakers Twine.
I really like all the matching Dimensional Elements lately:
They are printed chipboard, so you get sturdy perfect matching colors and dimension with absolutely no effort!
And we all know I am addicted to Washi Tape:
The wide tape is perfect for making little pennants! Just cut a strip of tape and fold it over some bakers twine. Make a little notch at the end and ta-da! Done!
No stamping on this one! Don't worry, I'll make it up next time ;)
Let me know if you are in the Utah County area and want to join us!
Subscribe to:
Posts (Atom)


